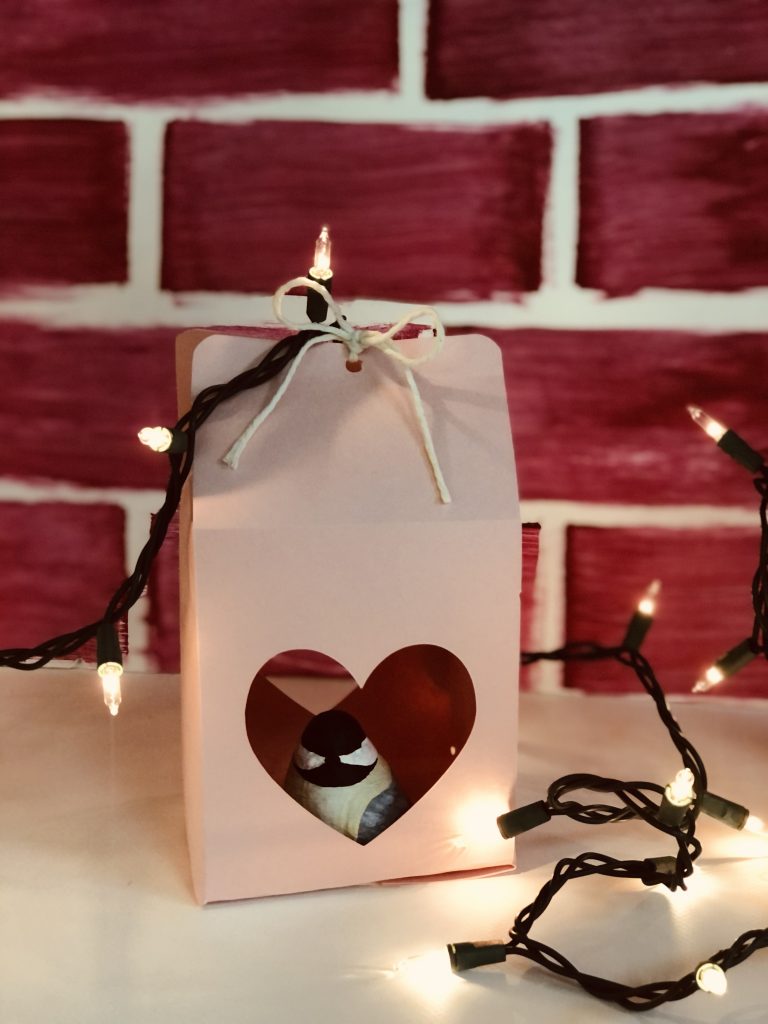
The I-Create lab has got into the holiday spirit this year with many crafts and decorations. All of this could not have been possible without the help of the Cricut Maker.
The Cricut Maker helped create festive houses and ornaments, all by using construction paper and the imagination of our workers!
The Cricut Maker can cut many types of paper and vinyl. Vinyl can be an adhesive or heat transfer material, both types come in a variety of colors and patterns and different textures – matte, shiny, glitter, and so much more. Adhesive vinyl is best for phone cases, car decals, and mugs. Most adhesive vinyl can stay on the desired items for quite a while, but there are many brands, and as usual, some are better than others. Heat transfer vinyl is cut first by the Cricut, then can be transferred to t-shirts, tote bags, and other cloth type items by ironing.
Other than attaching the vinyl to items, the Cricut can also cut out paper to make fun boxes, cards, and, in the lab’s case, decorations for the holidays, as seen above.
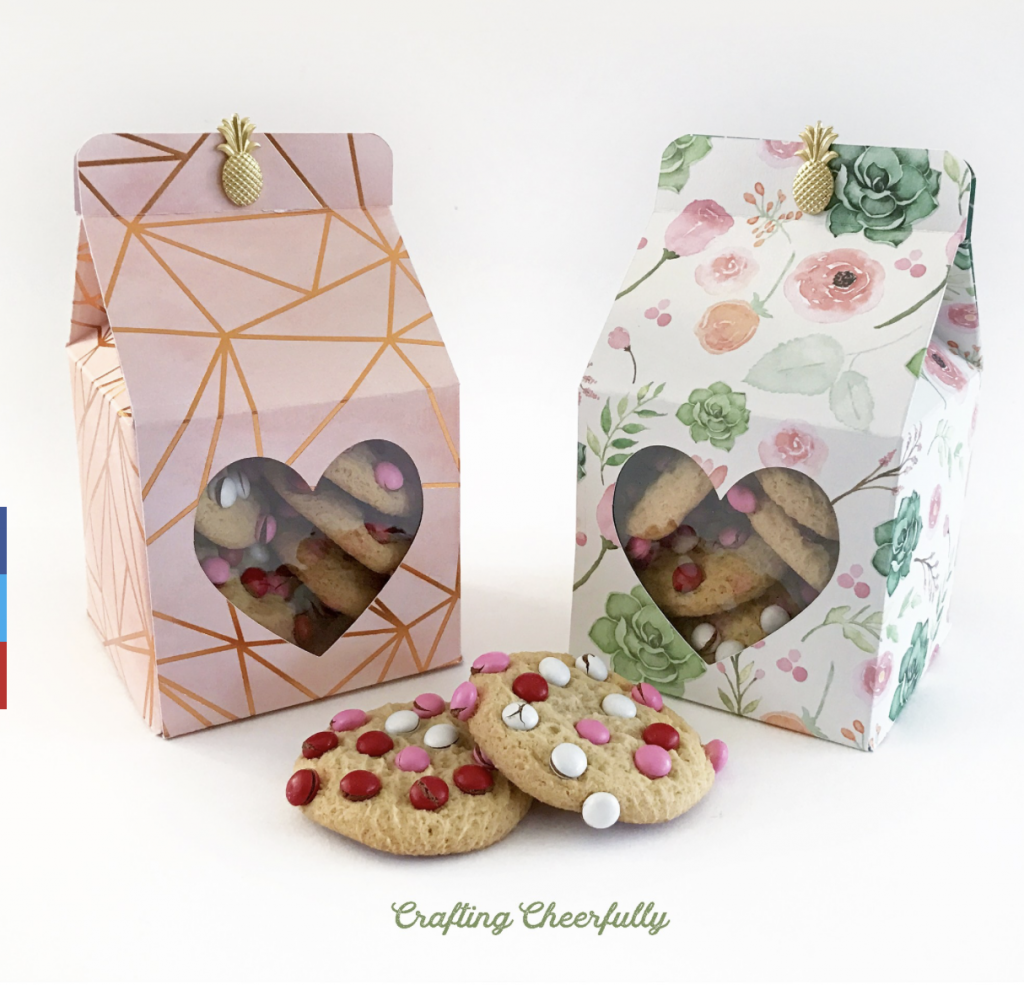
To better understand the Cricut Maker, follow this tutorial. When working on the Cricut and other equipment in the lab, your only limitation is your imagination. We do encourage you to come to the lab, however, with your file or design ready to go. With the Cricut Maker, you can use the app’s design space to create a design with free ready-to-go shapes and objects. Another free option is searching online for free SVG files. I did just that to find this Valentine’s day treat box. If you want a more intricate design, those can be purchased on the Cricut website before coming to the lab.
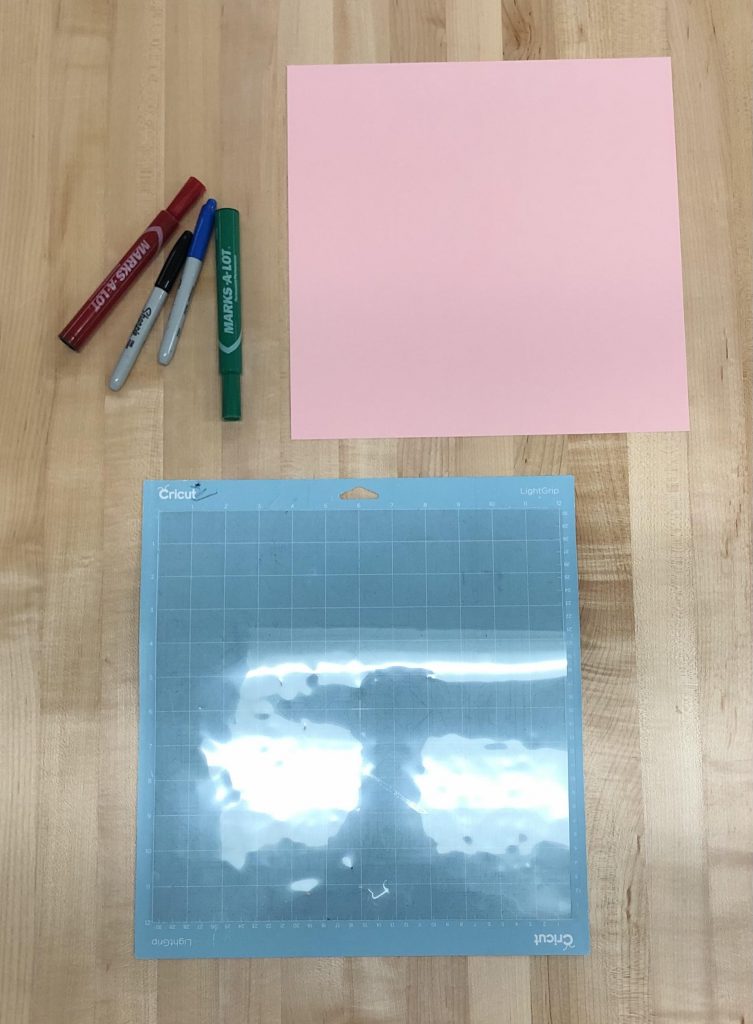
This particular project requires two pieces of construction paper, the Light Grip Cricut mat that will hold the paper in place, and markers to create designs on the candy boxes (optional).
Materials gathered, now it’s time to enter the Cricut Maker app where previous work and ideas have been made. From here, we will proceed to the new project square with the plus sign.
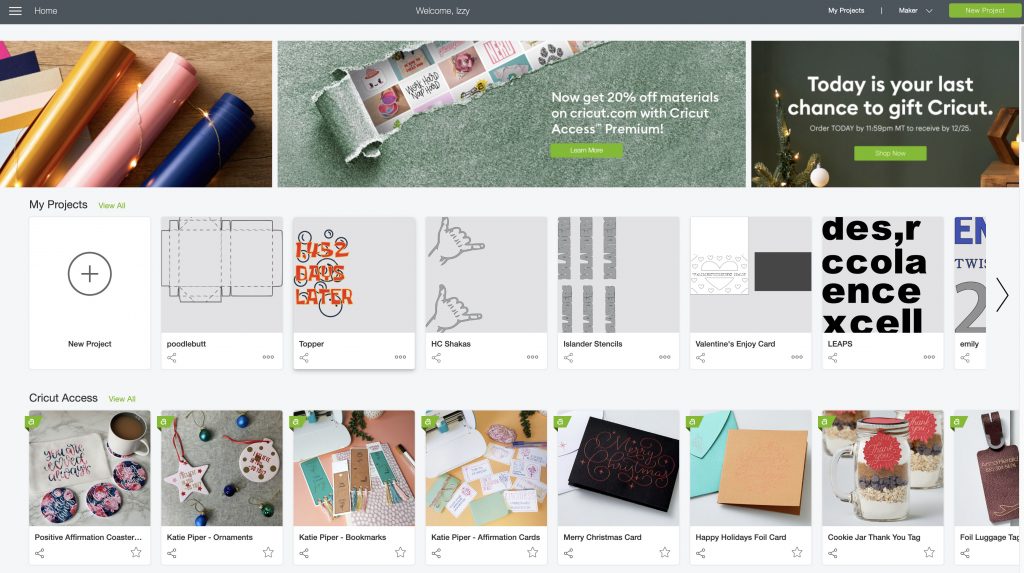
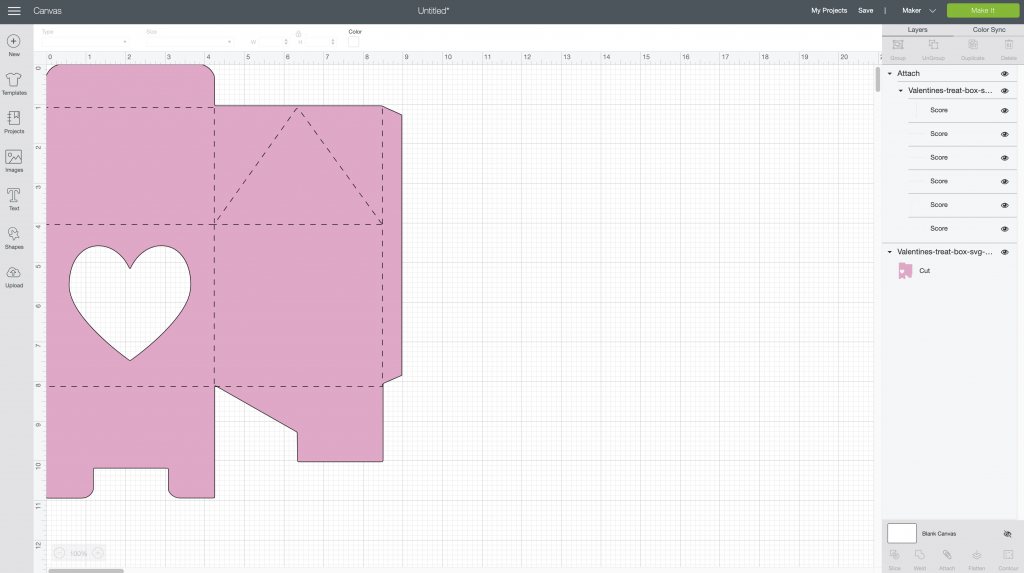
The canvas page will open, where you can customize the size, however, keep in mind the Cricut width is restricted to 12 inches. The I-Create lab has the necessary mats to place vinyl and paper sizes 12×12 and 12×24. Here you can upload a SVG file found online with the left icon named upload.
On the right side, you can see which lines are going to be cut or scored. Some lines transferred as cut lines and not score line, so I selected these lines. I then went to the top bar screen to line type and changed the lines to score lines. One of the wonderful things about the Cricut Maker is how customizable it can be.
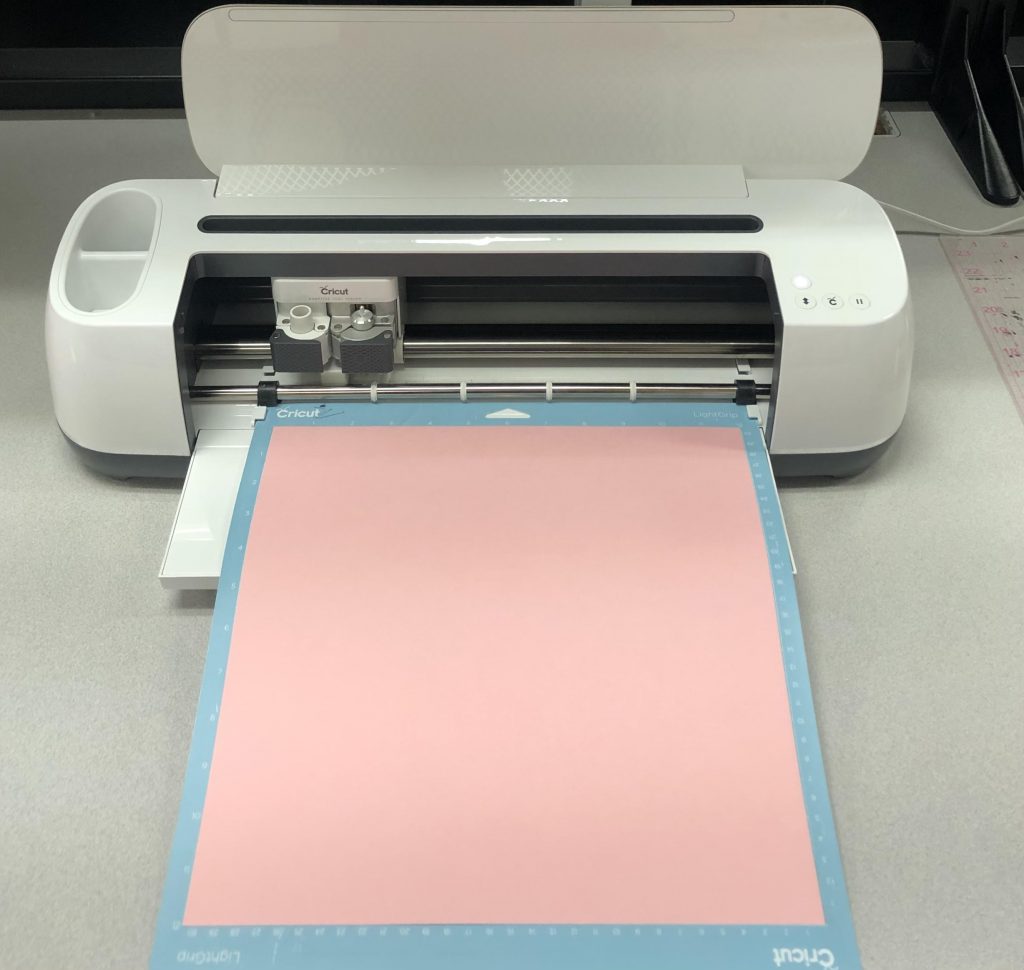
Next I placed the paper on the mat lining up with the grid. This grid is the same as the one presented on the canvas space. This part is easy as the Cricut Maker explains the process every time.
Once the design is ready, press the green make it button. Here the type of material in use is asked, and a tool check is made. Now time to load the mat into the machine.
The mat goes under the guides on either side. Push the mat so it slightly touches the rollers on each side. From here, the load/unload bottom will be blinking, once pressed the mat will be loaded into the Cricut.
Check over everything one more time, and Cricut C should be blinking. After pressing this, the machine will get to work! This process was repeated to create the other side of the box.
Once the paper is cut out, carefully unload the mat by pressing the load/unload button. Then carefully pull the paper off and follow any instructions given to you about the file. For example, the file I choose told me to fold down all the score lines before trying to folder everything together. There may be extra instructions or tips with every design so, keep that in mind.
After the paper was folded and after many human errors a very cute box for any occasion is made!!
Sounds like fun but not entirely sure you understand? No worries, visit the I-Create page to make an appointment today. Once arriving, we’re always happy to walk you through the making process!
