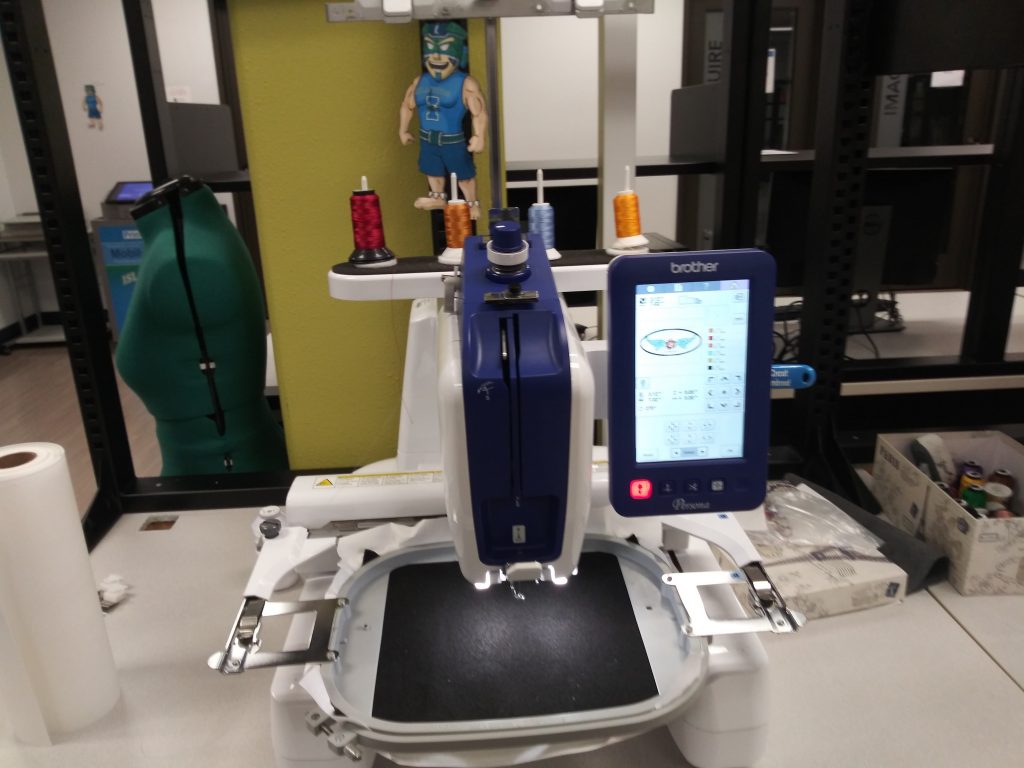
Among all the impressive machinery located in the I-Create Lab, along with the laser cutters and large format printers, stands the unique piece known as the Embroidery Machine. The One Thread Embroidery Free Arm Machines allows its user to choose from a select number of built-in designs (405) to create a unique design to embroider into clothing, towels, or any material that will fit under the arm and into the hoop.
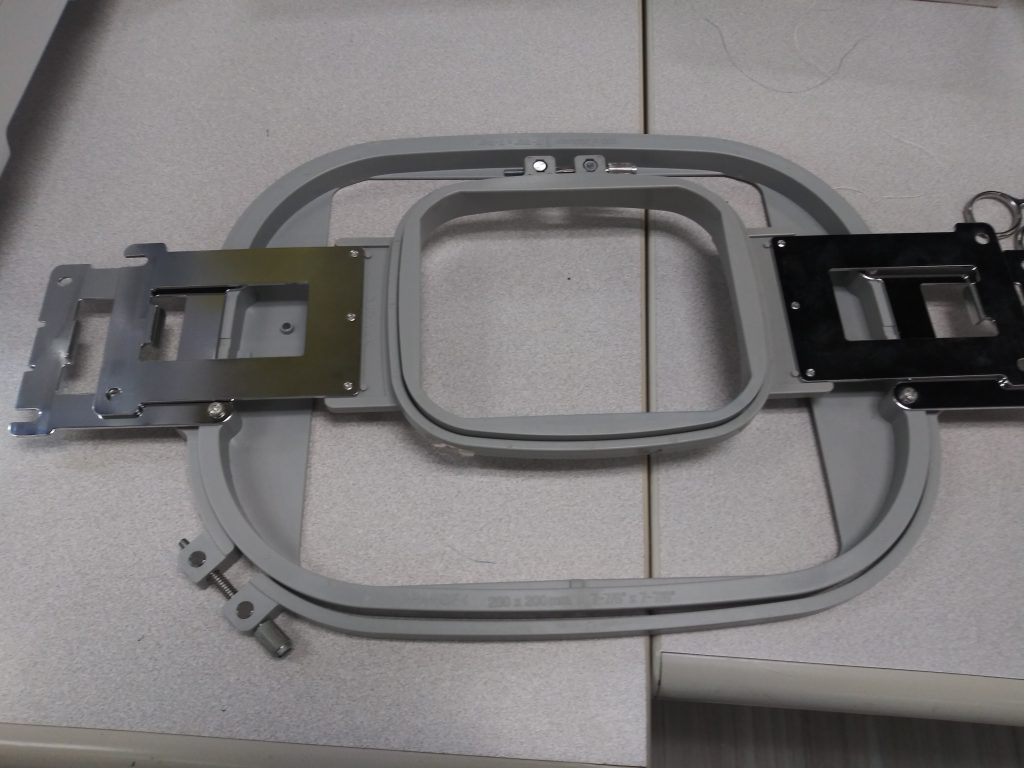
The 7-inch LCD display screen allows the user to select fun design patterns and even create different fonts to place names or initials onto their piece. Our lab offers two hoop sizes to use for any of your projects with a variety of thread colors to choose from. The top of the machine lets you place up to four threads but only uses one thread at a time so you will have to change out threads as you go. The machine is quick depending on the size of your piece and does about 1,000 stitches per minute.
If you cannot find a design on the embroidery machine you like, we’ve got you covered! Our Embrilliance Software allows you to bring in your own design and turn it into stitching. Make sure the design you bring in is simple colored to make it easier to turn the design into a functional and obtainable embroidery piece. You can also bring in images from online, as well as PNGs or vector files to be used within the software
With all that said, we are going to take a quick look at a condensed step-by-step of how to use the Embrilliance Software and the Embroidery Machine. The step-by-step does require some knowledge of Adobe Illustrator, but even if you are unfamiliar with the software, a student worker can assist you.
Embrilliance Software
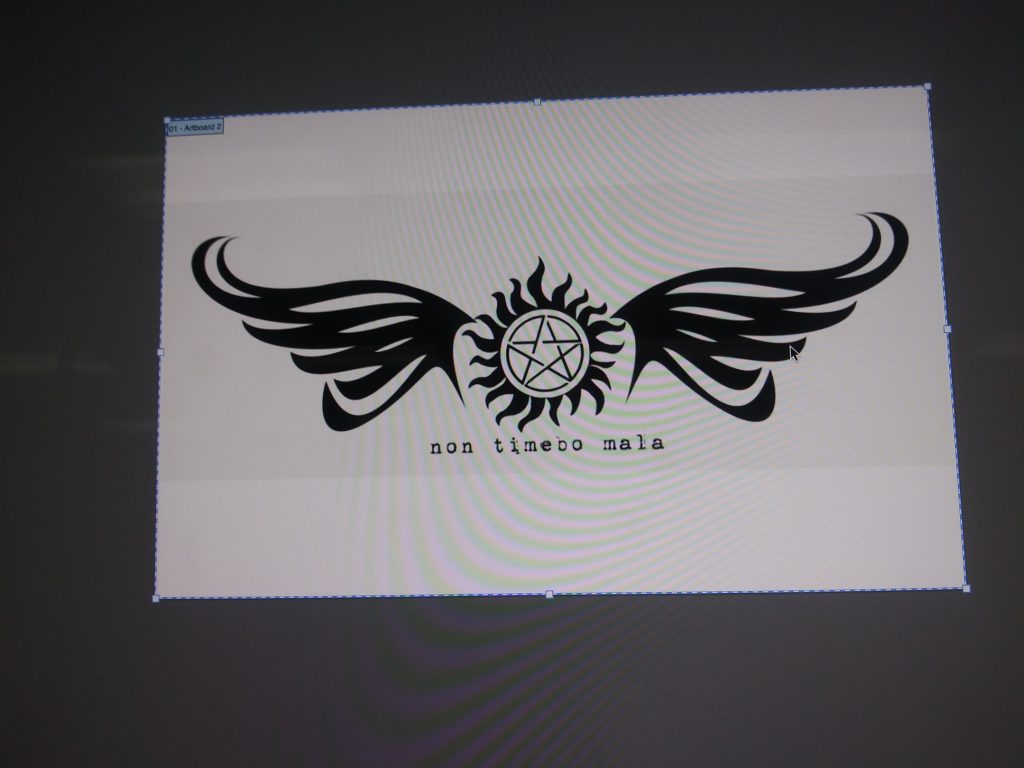
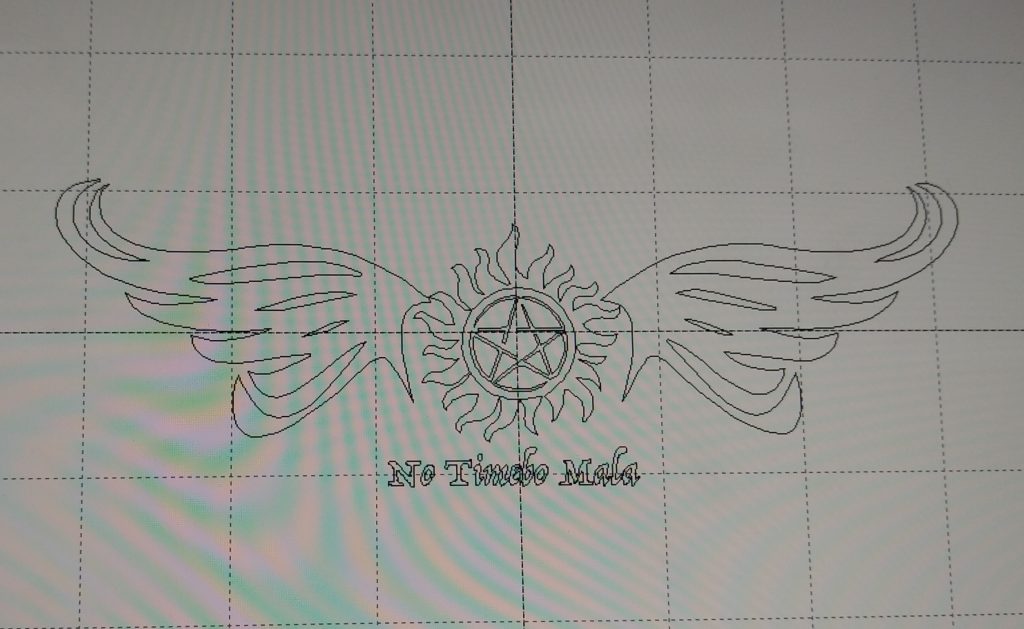
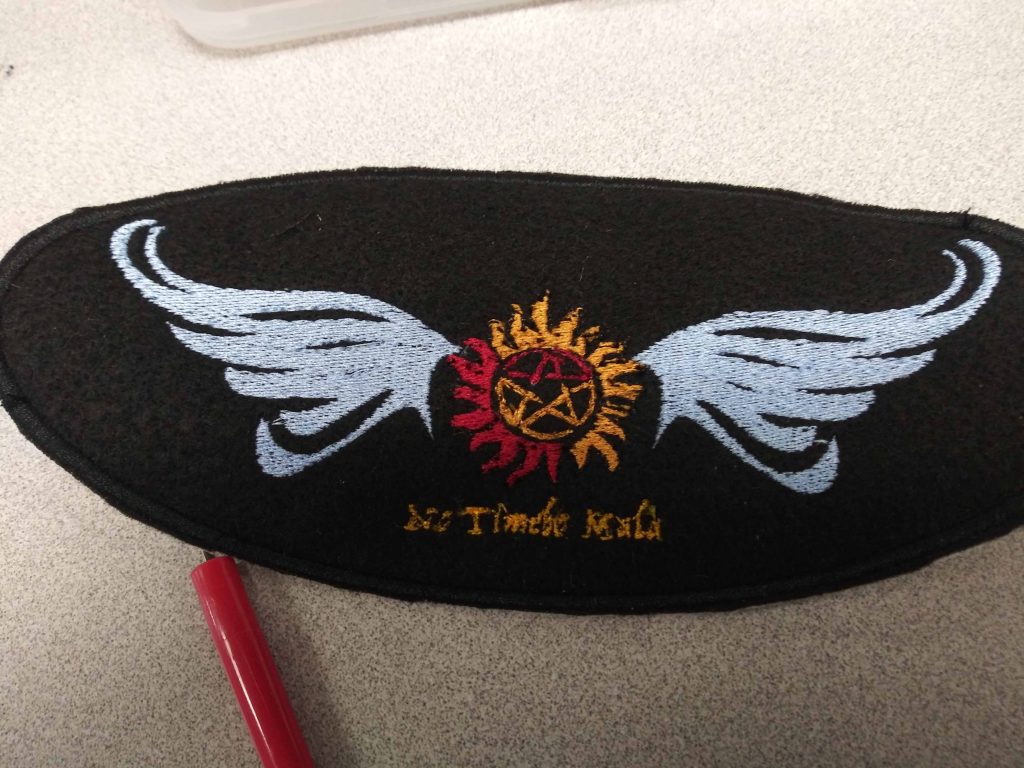
We will start with a simple design as a PNG and with the utilization of our lab’s computer, we will pop onto the Adobe Suite and use Illustrator to clean the design up, so it is easier to turn into an embroidery item. (This step can be skipped, and you can just use a PNG image in Embrilliance).
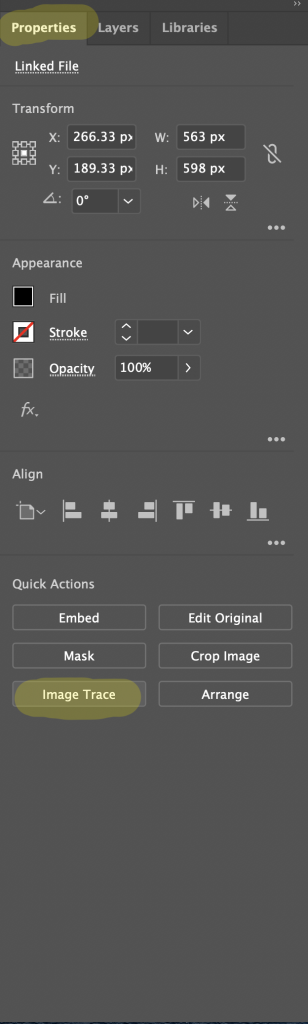
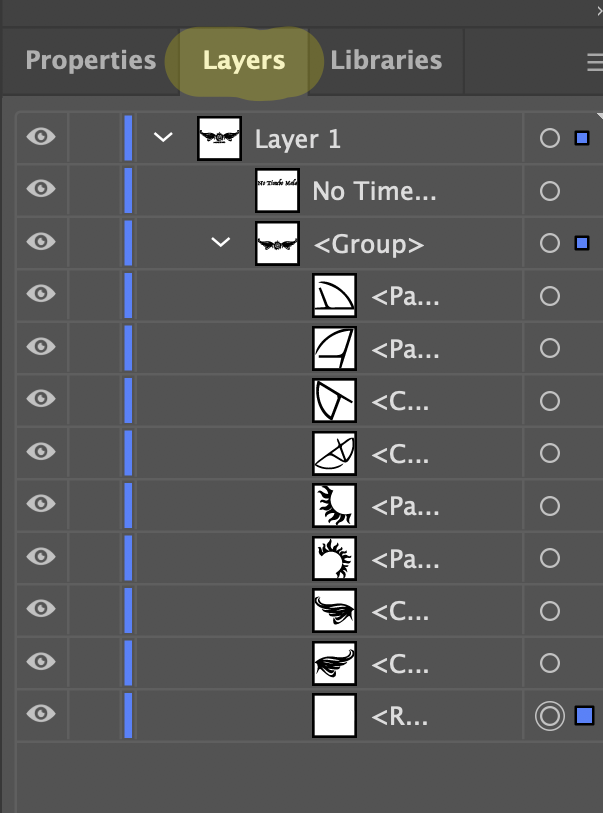
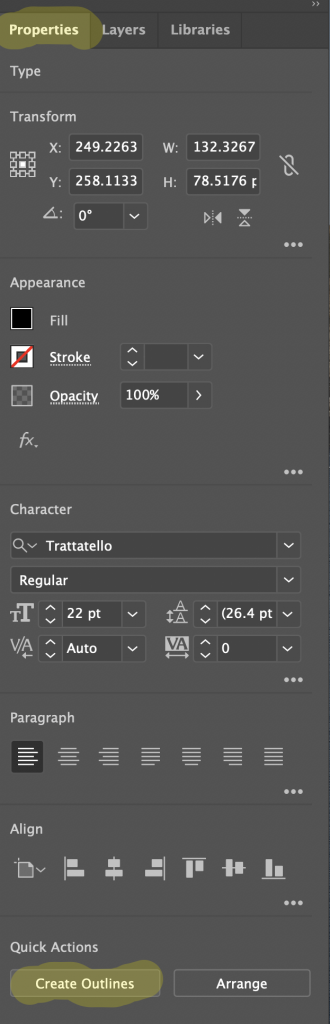
In Illustrator you will click on the item and find Image Trace in Properties, to convert it to cleaner lines. Then, you’ll go into the layers panel and get rid of all the items that are white empty spaces. For this item, I did add text, if you add text make sure to Create an Outline like you did for Image Trace and clean up any white areas again in the Layers. Save the finished image as an SVG file (this is a vector file).
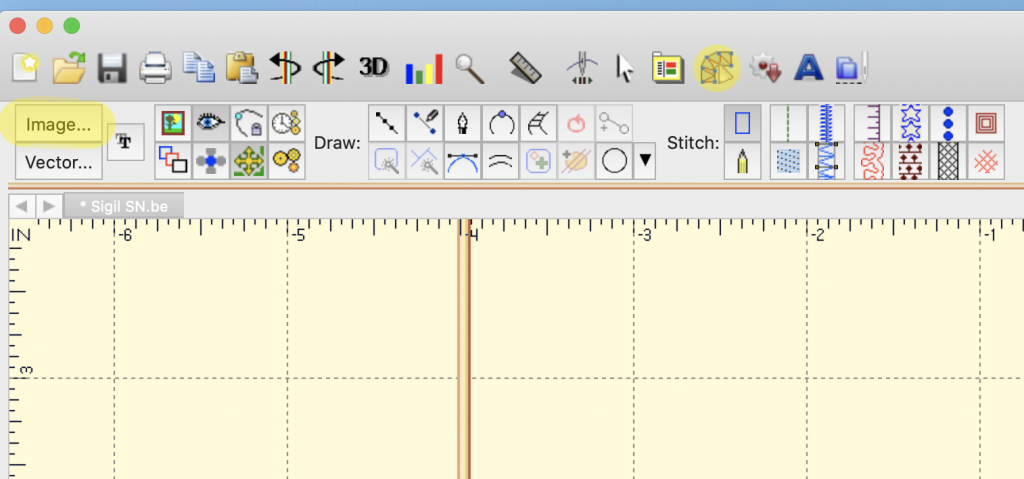
After that, you will take the new SVG file, or the unchanged PNG file, into Embrilliance (the yellow icon with the needle). You will do this by clicking on the Create Designs Icon and Image or Vector to bring in the file. This will bring an outline of the image into the working space.
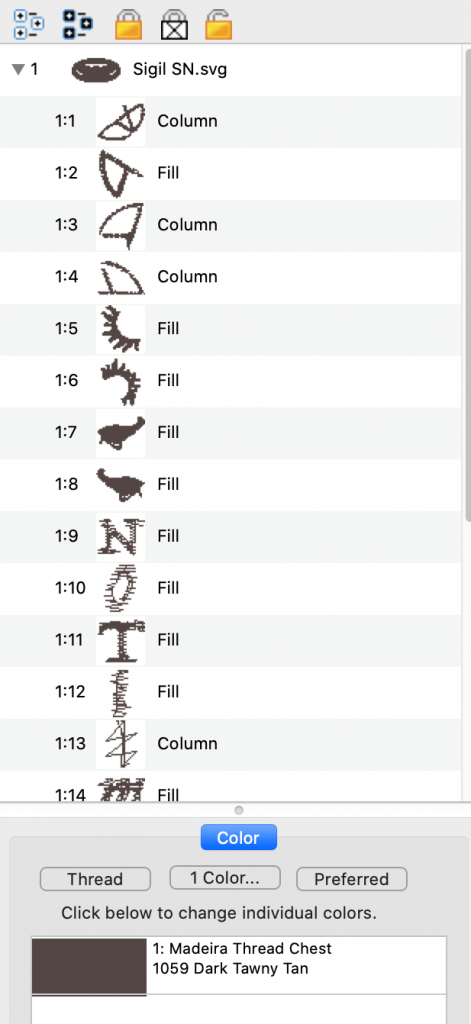
On the left side you will see a list of items that have be translated from the file into shapes and begin to fill them in clicking the Fill button located along the top tools as you move through each piece coloring it in totally. By clicking on the individual pieces, you can change the thread colors to give you an idea of what your finished piece will look like. You can also add text and shapes that are built into Embrilliance into your piece.
Embroidery Machine
From there you will save the file out onto a flashdrive and bring over to the Embroidery Machine. You’ll need to turn the Emboridery Machine on and setup the desired hoop size on the machine putting the material needed between the hoop and its base and using a stabilizing sheet to help with the embroidery process.

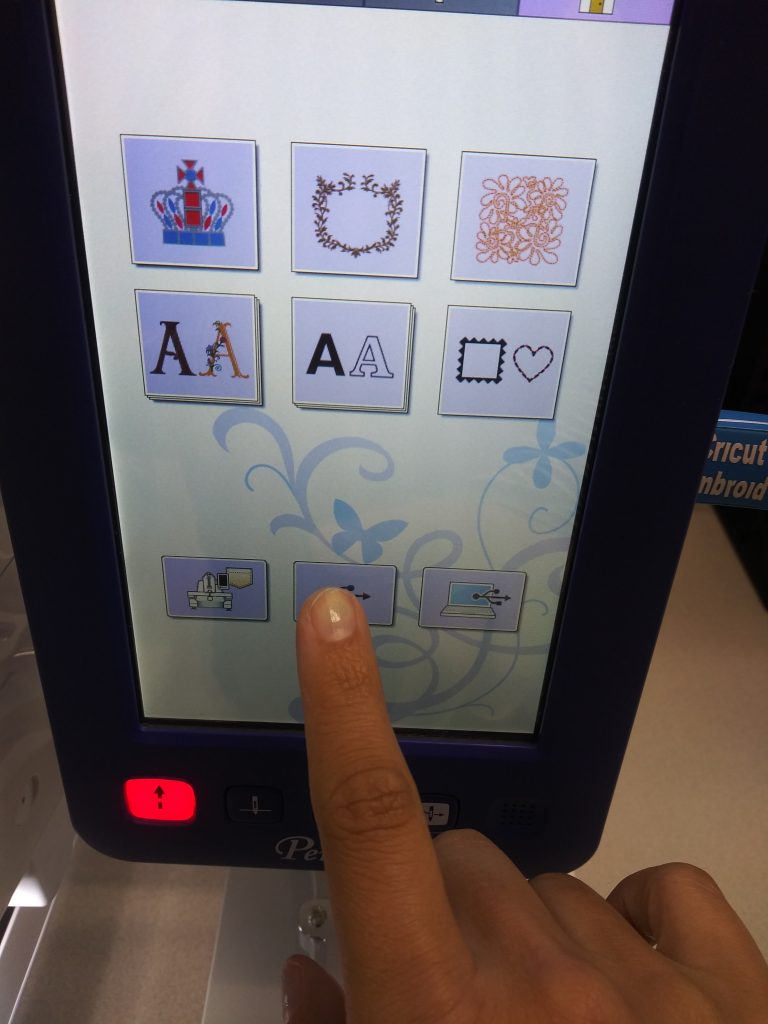
When the machine powers up you’ll be greeted with a number of options, for this project we will click on the USB button to find the file and open it. With this project, once I brought the item in I had to rotate it to fit the hoop size and then follow the prompts on the digital screen.
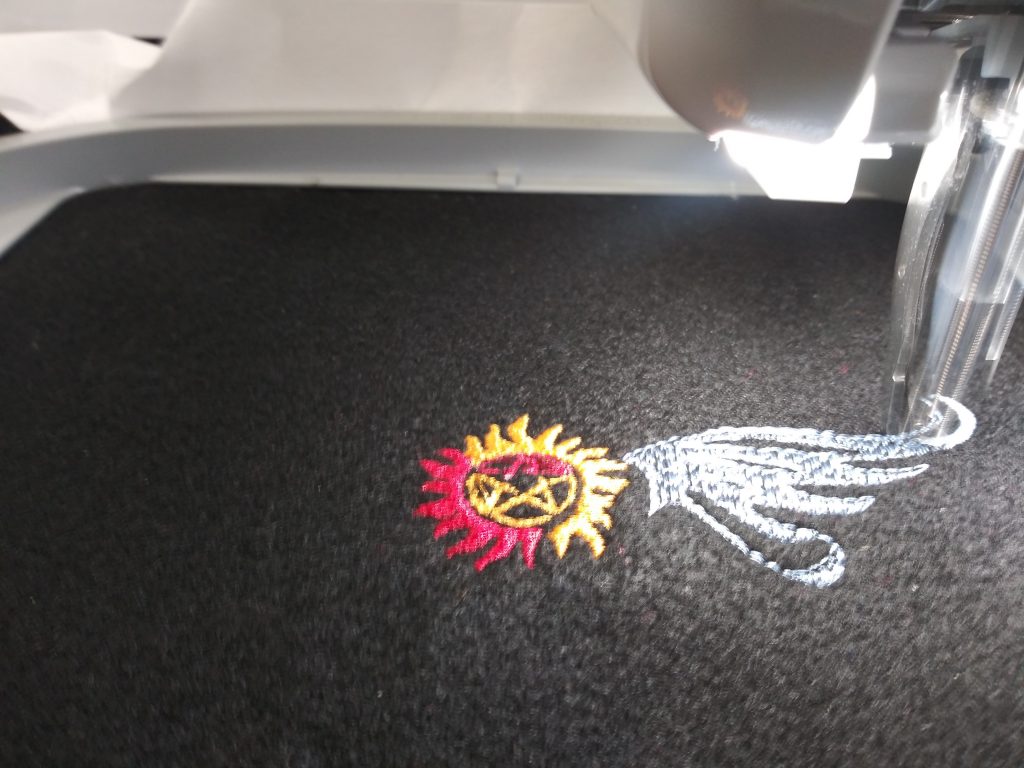
Follow the steps on the Embroidery Machine for loading the thread and check the bottom thread. Continue to follow the steps on the digital screen before beginning the embroidering. Make sure to press the lock button (the red button in the corner) before embroidering can begin. Then, sit back and watch your image come to life! A student worker can assist you with the full steps on setting up the embroidery machine.
The embroidery machine can be reserved on our website; http://library.tamucc.edu/visit-study/icreate-lab/ with a charge for using the machine per half hour. The cost of use for the embroidery machine is $1.50 per half hour for students, faculty, and staff and $2.00 per half hour for community users, prices are subject to change.
The I-Create Lab provides a selection of threads to choose from but, you must bring in your own materials for sewing. Fabric choices are limitless if it can fit within the hoop and under the embroidery machines needle. If you need any assistance while utilizing Embrilliance or the embroidery machine, one of our friendly student workers will be happy to help!